How to make a t-shirt mockup for free (no Photoshop needed)
A mockup is the difference between selling a shirt and selling an idea of a shirt. Buyers on Etsy, Shopify, and print-on-demand marketplaces almost never see your actual product before it ships — they see a photo of your design on a garment. If that photo looks flat or fake, the design gets skipped no matter how good it is.
The good news: you don't need Photoshop, a photographer, or a paid template. This guide walks through making a professional t-shirt mockup in your browser, for free, in about a minute — plus the placement and sizing details that make a mockup look real instead of pasted on.
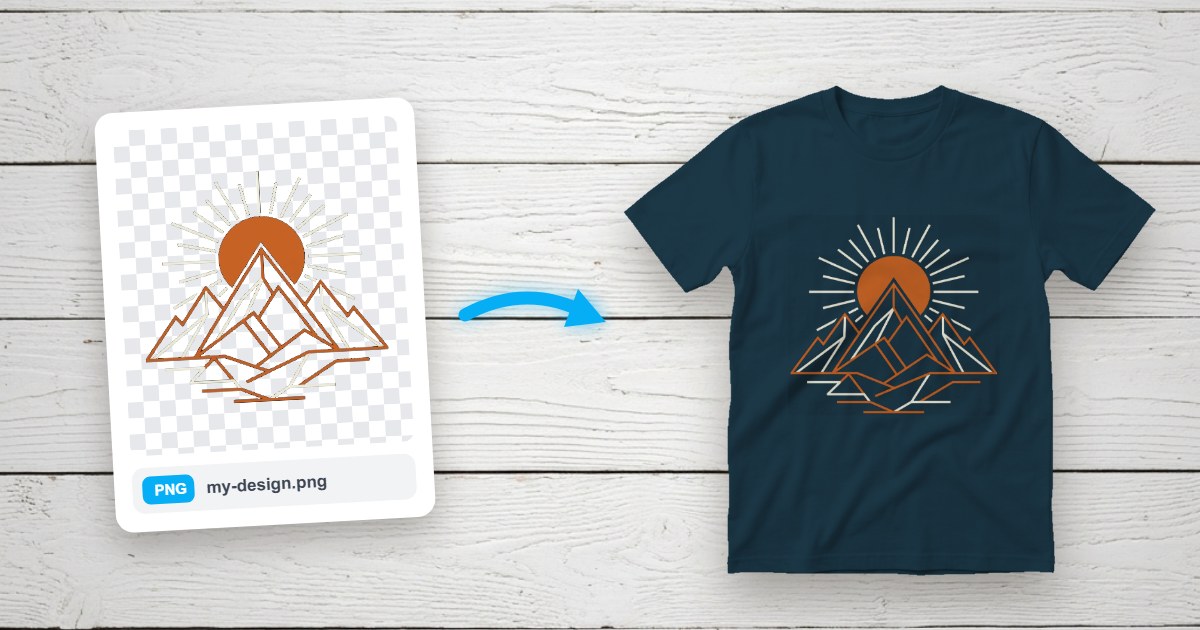
What you need before you start
- Your design as a PNG with a transparent background. This matters more than anything else. With transparency, the shirt fabric shows through around your artwork; without it, you get a white rectangle behind everything. Most design tools (Canva, Figma, Illustrator, Procreate) export transparent PNGs.
- A browser. That's it. No account, no install, no credit card.
Step 1 — Pick your garment
Open the free mockup editor and choose the garment that matches what you're actually selling. TeeMockup has eight: crewneck tee, v-neck, ladies tee, long sleeve, polo, tank top, sweatshirt, and hoodie.
Matching the mockup to the real product sounds obvious, but it's a common mistake: showing a unisex crewneck mockup for a listing that ships a ladies' fitted tee leads to returns and bad reviews. If you sell one design on several garments, make a mockup for each — it takes seconds and multi-garment listings convert better.
Step 2 — Upload your design
Drop your PNG into the editor. Your file stays in your browser — nothing is uploaded to a server, which also means there's no processing wait and no privacy question about unreleased designs.
Step 3 — Position and size it like a real print
This is where most DIY mockups give themselves away. Drag your design into place and keep three rules in mind:
- Width: roughly 60–70% of the chest. A full-width print looks like a costume; a tiny centered logo looks like a pocket print (which is fine, if that's the intent). Standard print-on-demand print areas are around 12″ wide on a 20″-wide shirt.
- Vertical position: the top of the design about 2–3″ below the collar. Designs centered on the belly are the most common beginner tell.
- Respect the fabric. The editor renders 3D fabric folds over your artwork, which is what makes the print read as on the shirt rather than floating in front of it. If your design looks perfectly flat and crisp while the shirt has folds, buyers notice something is off even if they can't say what.
Want the exact numbers for every placement — left chest, back prints, hoodies, fitted tees? See the full design placement & size guide.
Step 4 — Download your PNG
Hit download and you get an 1080×1080 pixel PNG — no watermark, cleared for commercial use. Switch the canvas preset first and you get that size instead: Etsy Listing exports 2700×2025, Instagram Story 1080×1920. That resolution displays cleanly on every major marketplace: Etsy thumbnails, Shopify product grids, Amazon Merch, Redbubble, all of them.
Tips that separate good mockups from great ones
- Make more than one. Your first image should be the clean product shot; follow-ups can show the design on a hoodie or sweatshirt to upsell other garments.
- Check contrast against the garment color. A black-line design on a dark shirt disappears in thumbnails. If your design has thin dark strokes, preview it small — marketplace search results render your mockup at under 300px.
- Keep your source design high-resolution. Upload the same 4500×5400px file you'd send to your print provider. The editor scales it down cleanly; a low-res upload scaled up gets blurry.
- Reuse the mockup everywhere. The same PNG works for your listing, social posts, and ads — consistent product imagery across channels measurably lifts trust.
Selling on a marketplace? Go deeper
Mockup requirements and buyer expectations differ by platform. We've written specific guides for Etsy sellers, Shopify stores, and print-on-demand sellers in general.
Frequently asked questions
Do I need Photoshop to make a t-shirt mockup?
No. A browser-based mockup generator places your design on a garment photo automatically — no design software, templates, or smart objects needed.
What file format should my design be?
A PNG with a transparent background works best, because anything behind your artwork shows the shirt fabric instead of a white box. JPG works too if your design fills a solid shape.
Can I use free mockups for Etsy or Shopify listings?
Yes — mockups from TeeMockup are free for commercial use with no watermark, so you can use them directly as listing images on Etsy, Shopify, or any print-on-demand marketplace.
What size should a t-shirt mockup image be?
The default 1:1 preset exports 1080×1080, which covers most marketplaces. Etsy recommends at least 2000px on the shortest side for zoom — switch the canvas to the Etsy Listing preset and you get 2700×2025, comfortably above it. The 1:1 export displays cleanly in search results and listings.
Make your first mockup now
Under 60 seconds from design file to finished mockup — free, no signup, no watermark.
Open the Free T-Shirt Mockup Generator